• Don't miss out on all the fun! Register on our forums to post and have added features! Membership levels include a FREE membership tier.

Another NyPro Project

Norway

Well-known member
Lifetime Membership
Nov 29, 2007
1,978
476
83
49
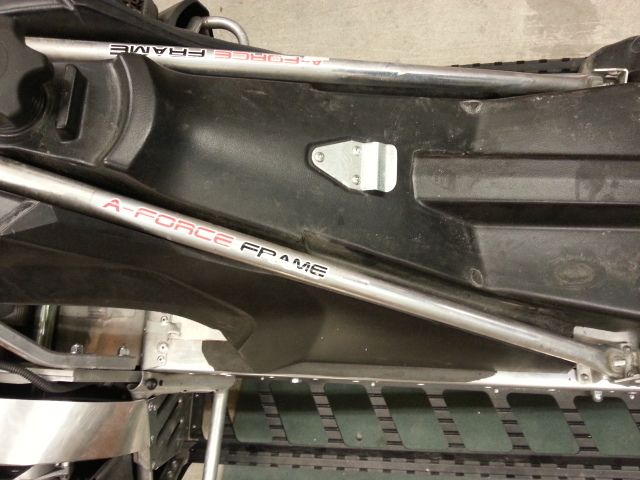
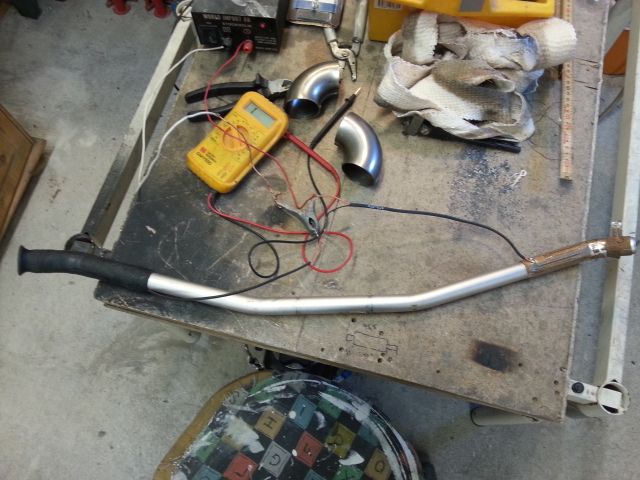
This is what happened to my tunnel extension, i was worried that it would be to weak to lift the sled in the back but that was no problem it was to weak whe you pushed it down.
i just used standard aluminum since nothing else was available in Town and i needed something for my testride with the long track.
For the new tunnel i will order some better grade aluminum.
Any suggestions on what type of aluminum ? the only bend will be the lip for the runningboards.

Had the same misshap on my pro; jump gone wrong and I let the sled land by itself. Would have been fine if I had not landed on the rear of the tunnel..
Decided not to spread my legs and land with my crotch, lol, so my feet bent it down.

My fix was heating and bending back + some hours of work with hammers along with PAR tunnel sides.

But for your sled, you need something to beef up the lower edge of the tunnel. See how all sleds have a rolled up lip or something to strengthen that edge? New proclimbs take a different path with a long rear bumper going down along the edge and connecting with the end of the boards.

You should do something along those lines. Either reinforce with more and/or thicker alu or run a proclimb bumper.

RS
 

Norway

Well-known member
Lifetime Membership
Nov 29, 2007
1,978
476
83
49
Norway : I have a couple of ideas how to make it stronger.

LOL! I'll bet you do!

Just to add to this; I was riding yesterday IN THE TREES and we had some close encounters of the 3rd or 4th or 5th kind, not sure. Today I notice a crack in the bent out lip of my tunnel, just about where your wrinkle is.
I have already replaced my rear bumper with a CoBe bumper, wrecked it and made my own side plates for it. Now I see that to really protect that thin flimsy edge there I have to du just what I suggested you do; buy a Proclimb bumper.

Hälsning,
Rune
 
S

sportsterdanne

Well-known member
May 3, 2011
432
123
43
48
I have been searching for some aluminum for my tunnel to get it at a decent price and i think im getting Close now.
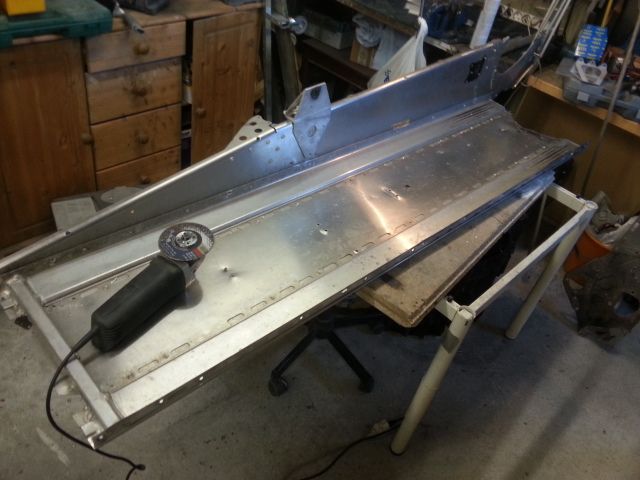
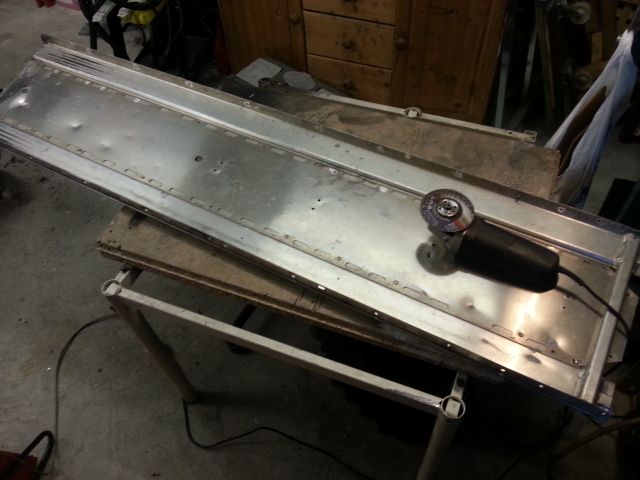
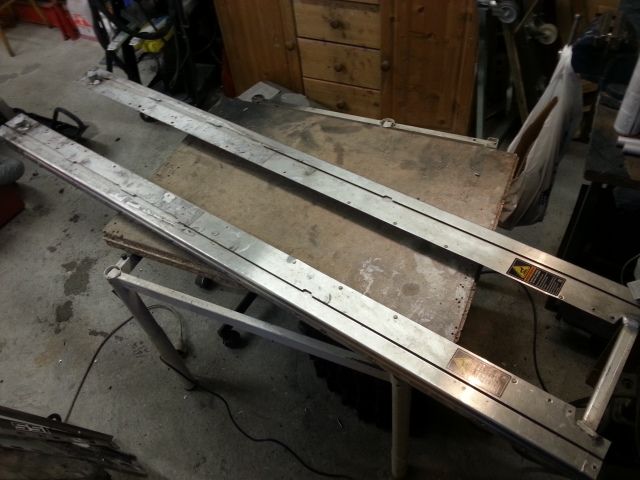
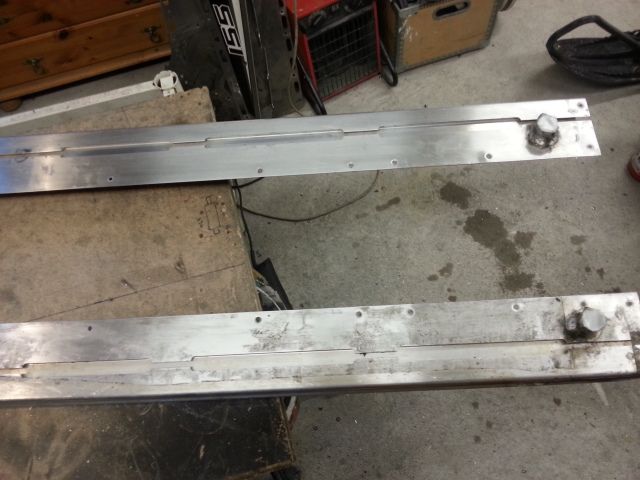
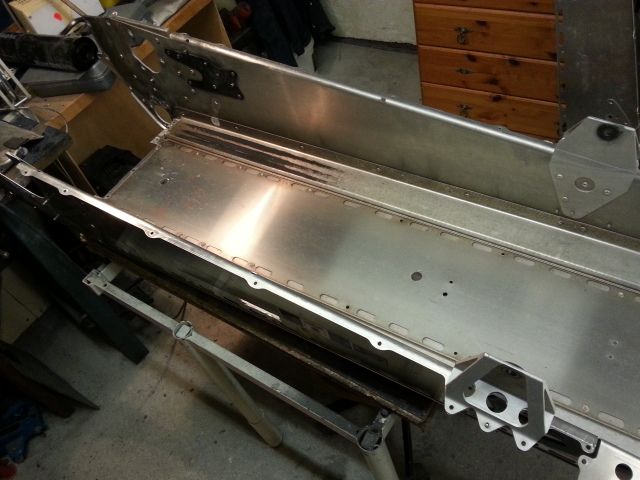
Yesterday i started to take apart the second tunnel.
 
S

sportsterdanne

Well-known member
May 3, 2011
432
123
43
48
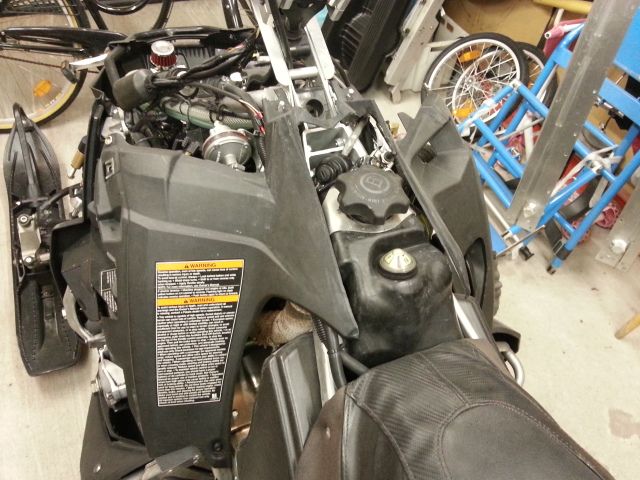
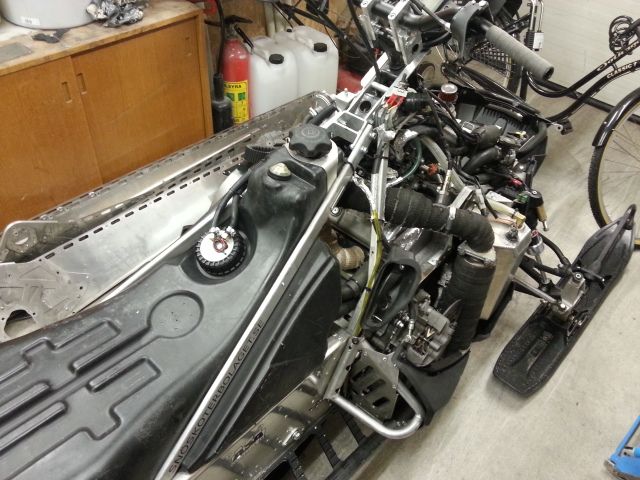
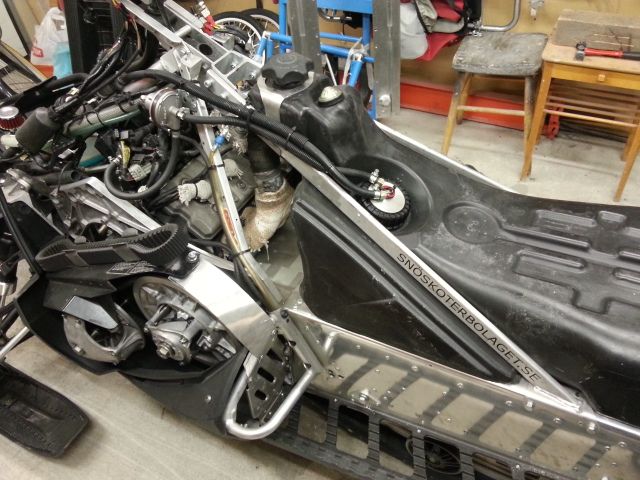
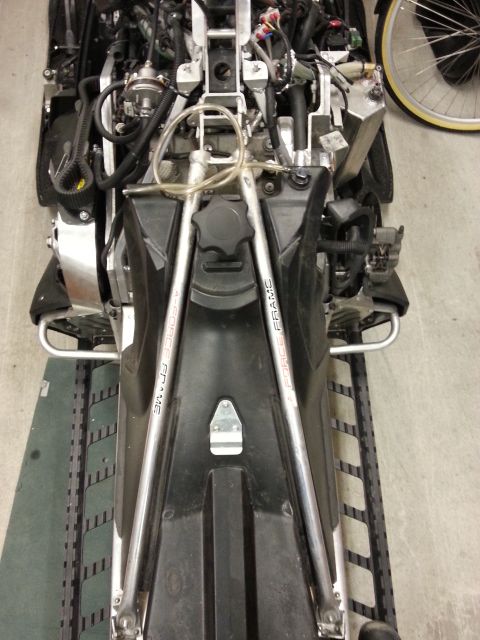
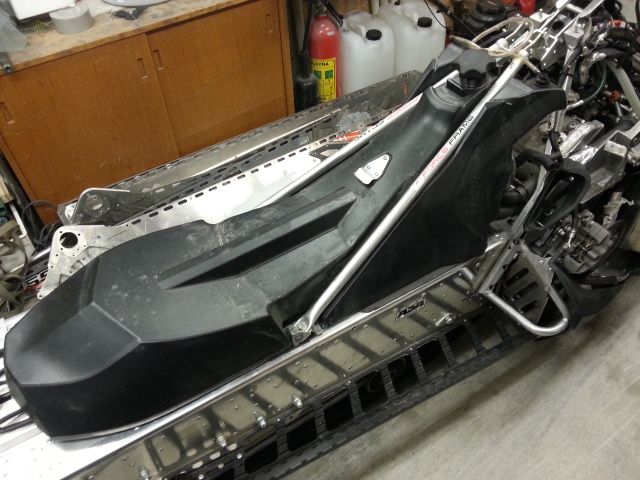
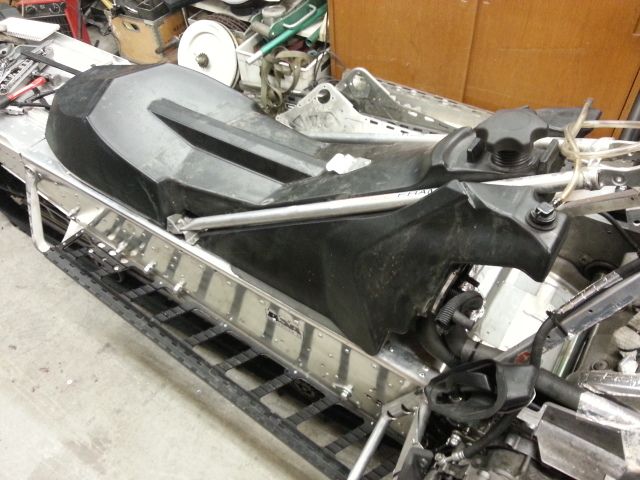
The REV gas tank was to wide at the front so i took a good look at the newer Lynx models who has a even narrower gas tank than Ski doo and decided to use one of those.
Found a Lynx RE 800 ETEC gas tank with the rear pyramid support.


it feels way better, in the Pictures its only temporary installed and will be more forward and lower with the new tunnel.


Also put in a order on the smaller LED light and the aluminum sheets for my new tunnel.
 
S

sportsterdanne

Well-known member
May 3, 2011
432
123
43
48
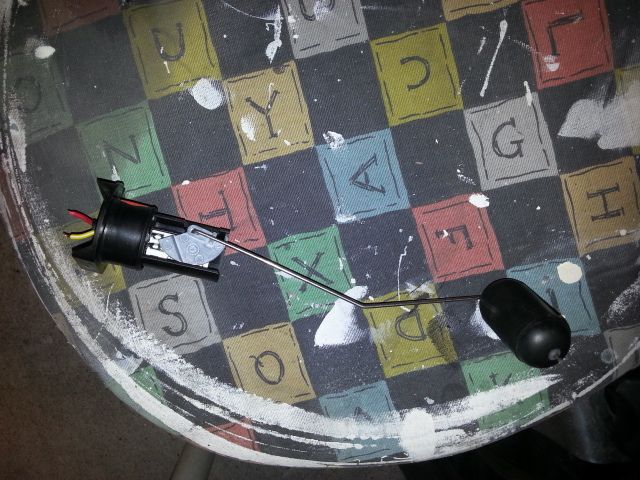
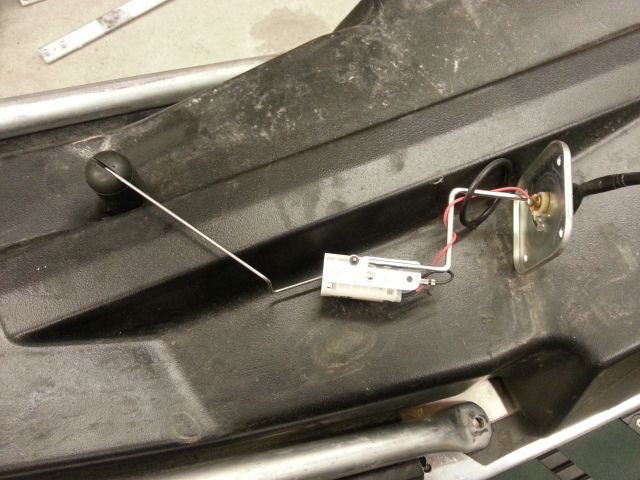
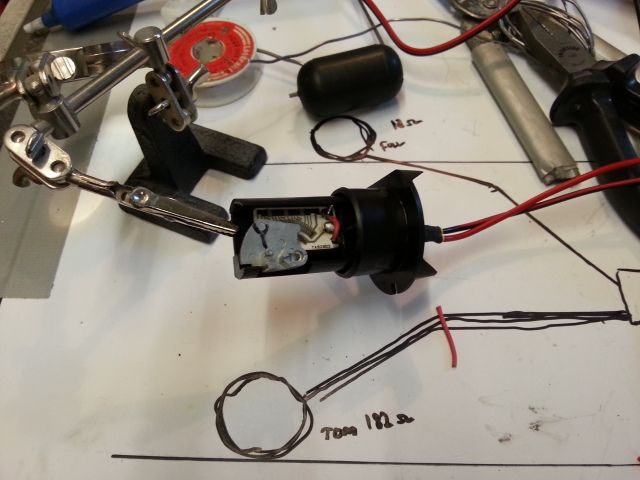
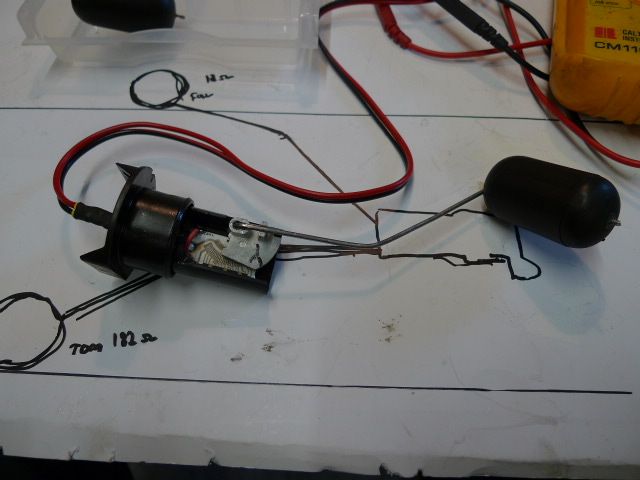
I found a broken Ski doo fuel sender that im going to try to modify and use Nytro fuel sender parts on.
 
J

jskattum606

Well-known member
Dec 3, 2007
923
400
63
Bozeman, MT
I do it the easy way. haha . I put in a resistor to make the gauge show full . I just keep an eye on my fuel visually instead of relying on a gauge. I just checked the apex one and it needs around 15 OHMs to show full
 
S

sportsterdanne

Well-known member
May 3, 2011
432
123
43
48
With the Rev gastank that has the built in gas gauge i used a 10 Ohm resistor so the Nytro gauge showed full but now im going to try this mod.
 
S

sportsterdanne

Well-known member
May 3, 2011
432
123
43
48
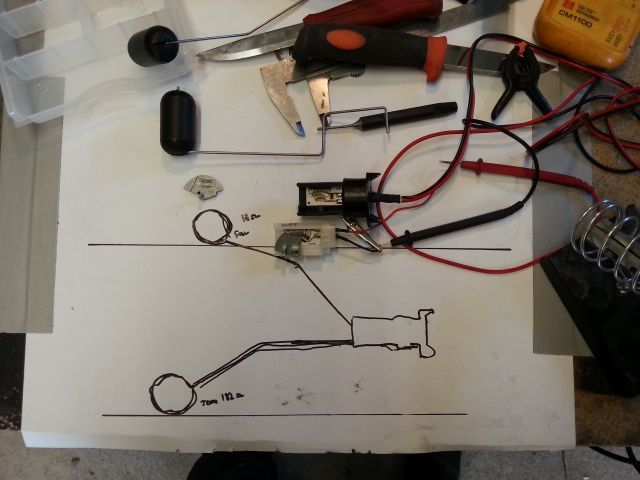
Started with a drawing to se the range of motion on the Ski doo lever.


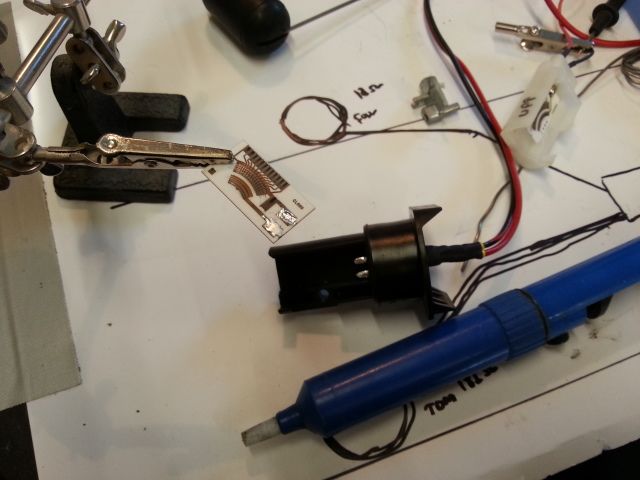
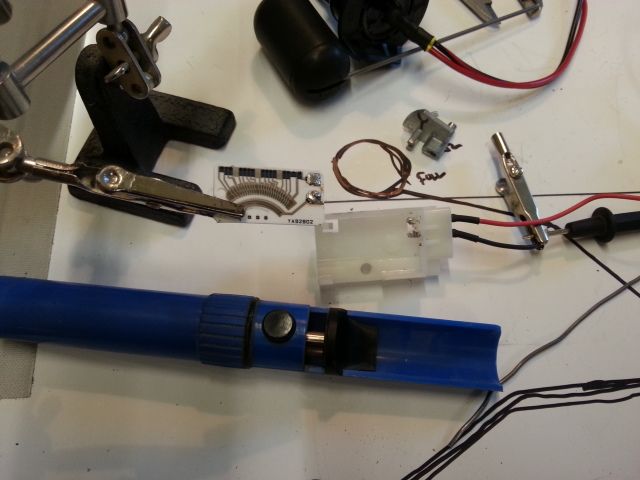
then i removed the "Circuit board" from the Ski doo unit.


and the Nytro one.


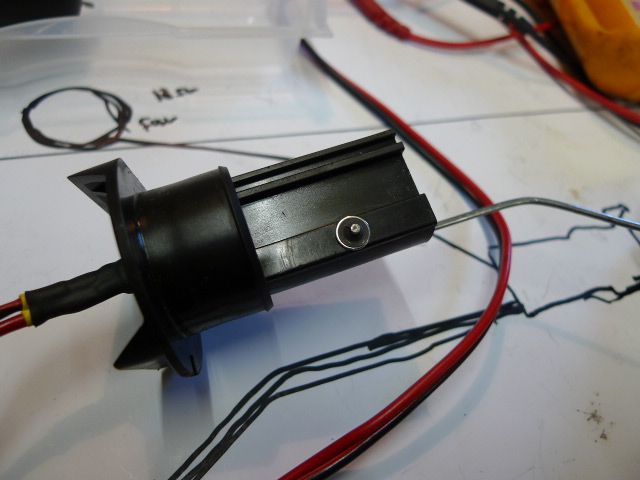
the size and layout was pretty much the same on both "Circuit boards" so the nytro one fitted perfect, it has a longer range of motion and one of the soldering Points was on the opposite side so i had to use a small wire there.
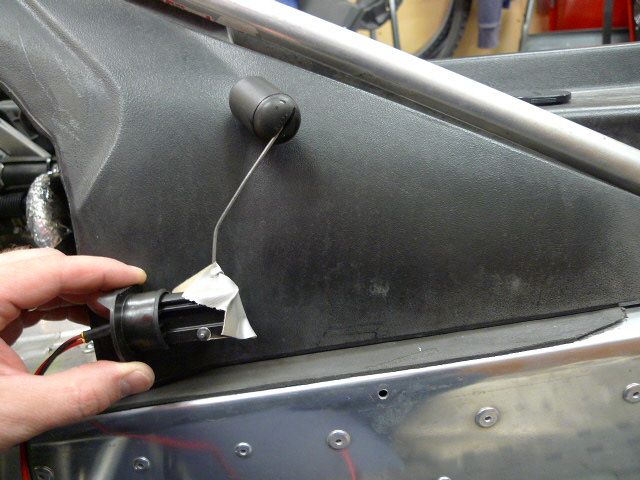
Then i modified the Nytro lever and shortened it.


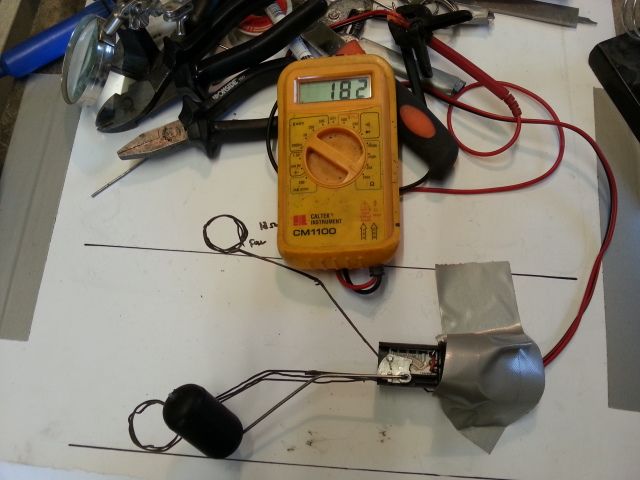
empty tank 182 ohm, in the same position as ski doo.


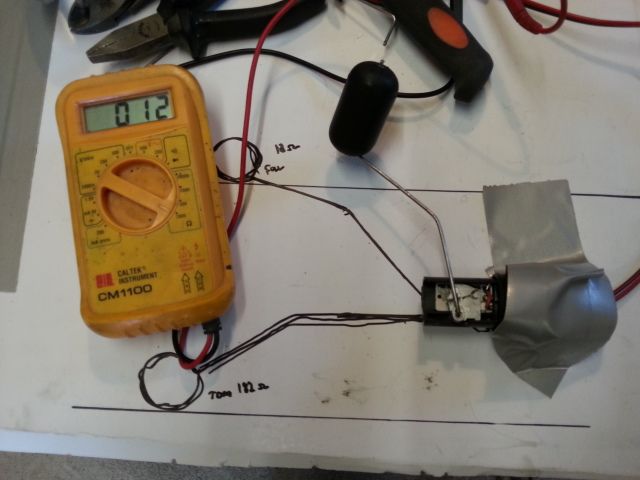
Full tank 12 ohms its a bit higher in the tank but i Thinks theres is room for it in this position.


S

sportsterdanne

Well-known member
May 3, 2011
432
123
43
48
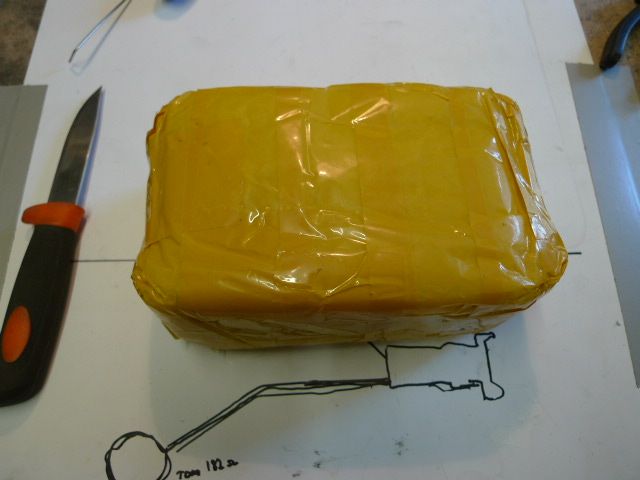
The Epoxy had cured over night so i installed the lever.


I Think it will work.


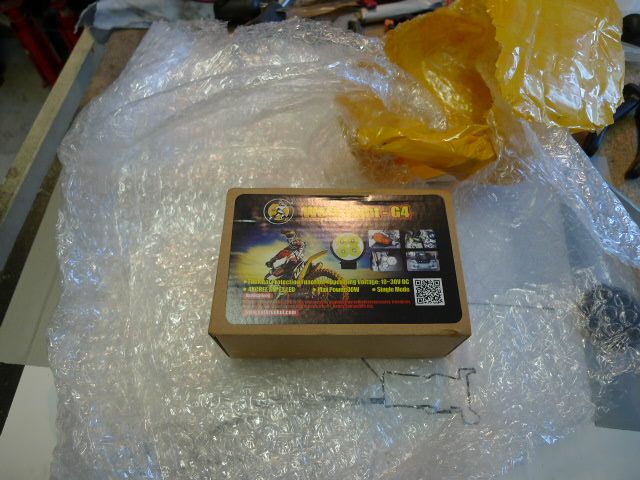
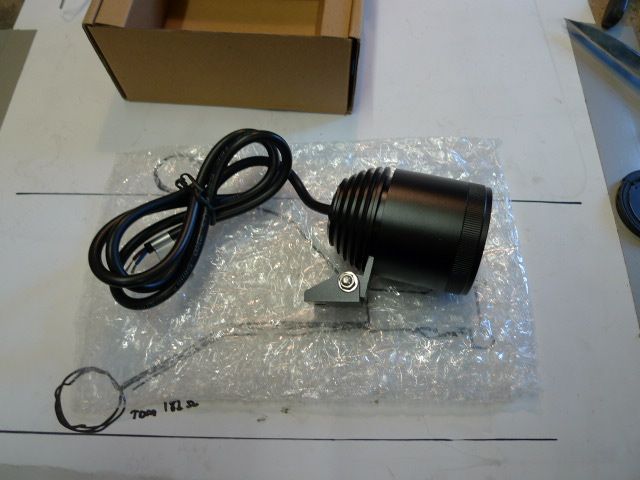
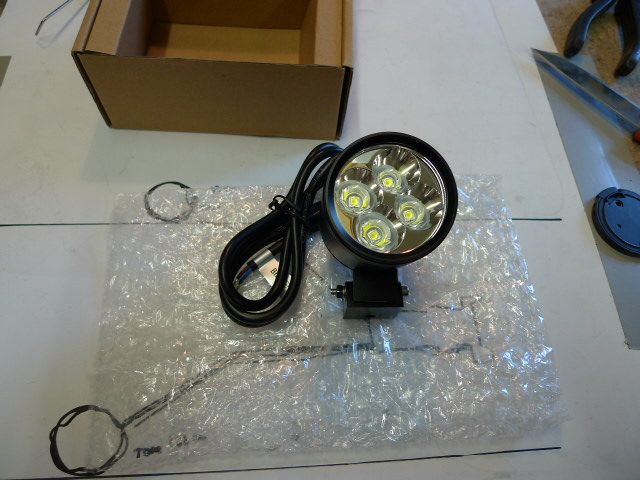
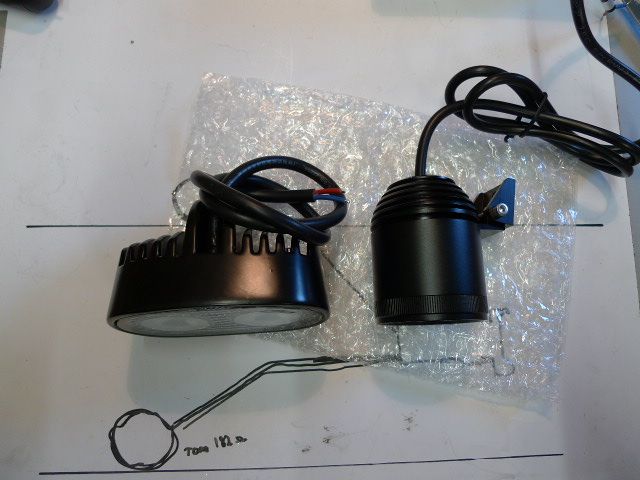
I got something in the mail today


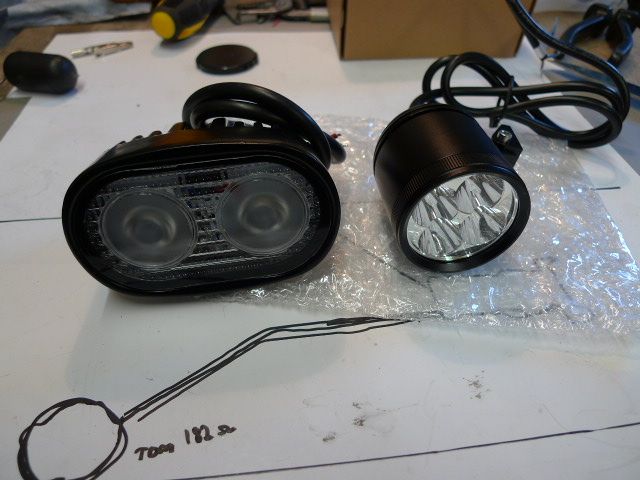
Comparing it to the one i ordered first.
The new one is 30 Watts and 330 grams and the other is 20 Watts and 470 grams.


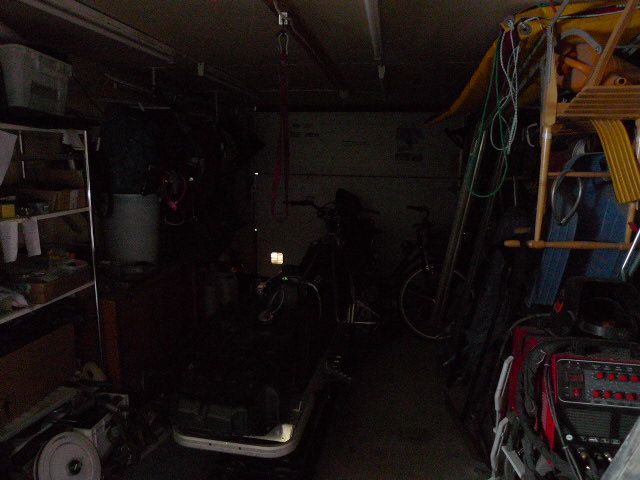
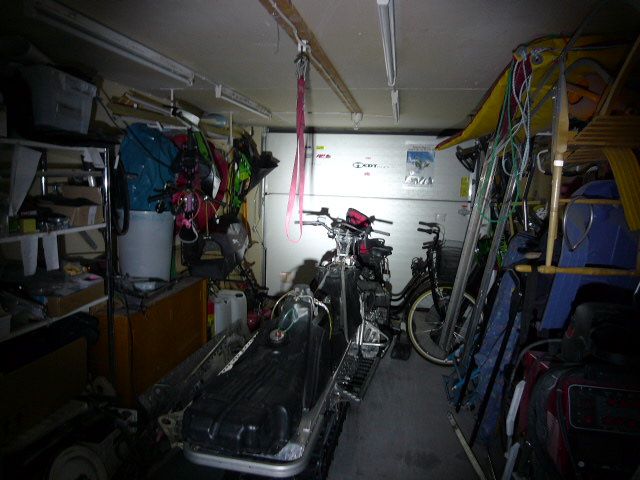
Did a little test in the garage.


S

sportsterdanne

Well-known member
May 3, 2011
432
123
43
48
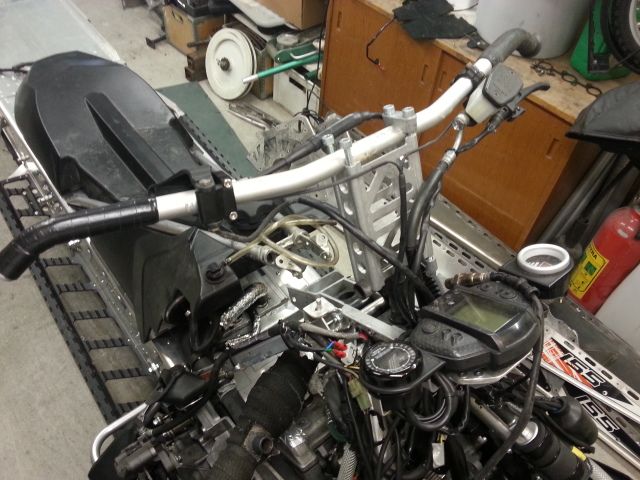
Installed the Ski doo bar and riser, its about 300 grams lighter than what i replaced so i almost saved what the Led light will add.
 
S

sportsterdanne

Well-known member
May 3, 2011
432
123
43
48
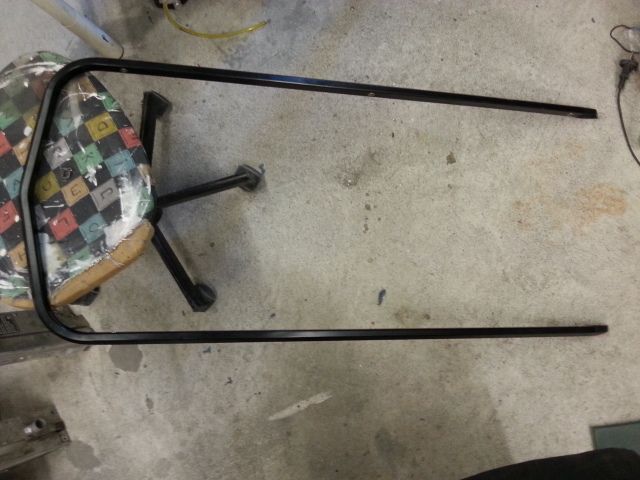
Got this Summit rear bumper from a friend who saved it from the trash can at a Ski doo dealer.
its incredibly light weight at 760 grams, the short one i have now is 1560 grams !!


S

sportsterdanne

Well-known member
May 3, 2011
432
123
43
48
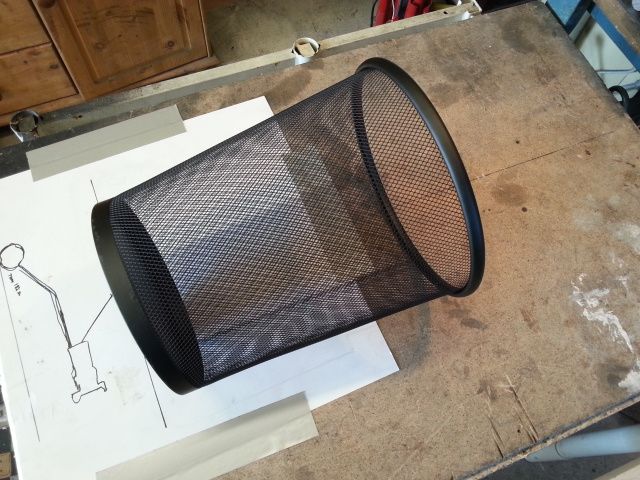
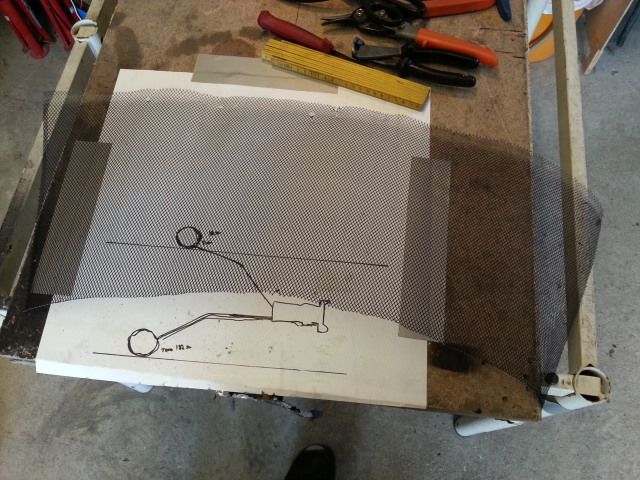
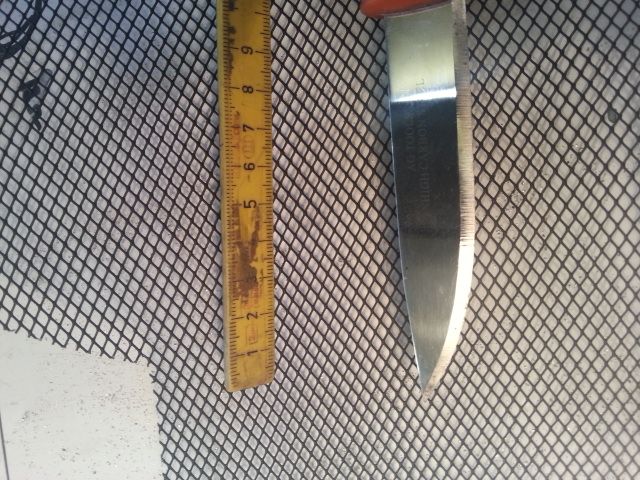
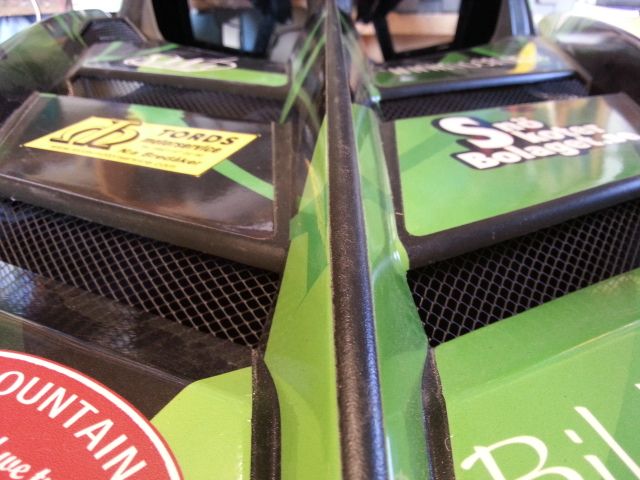
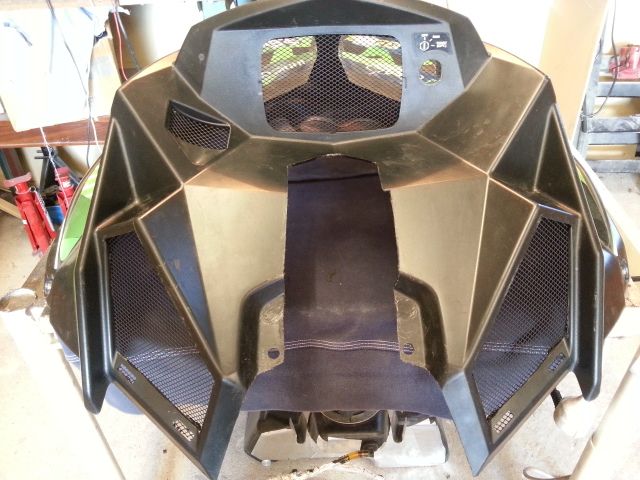
I have been searching for some metal mesh around Town but with no result, but finally i found something. :)


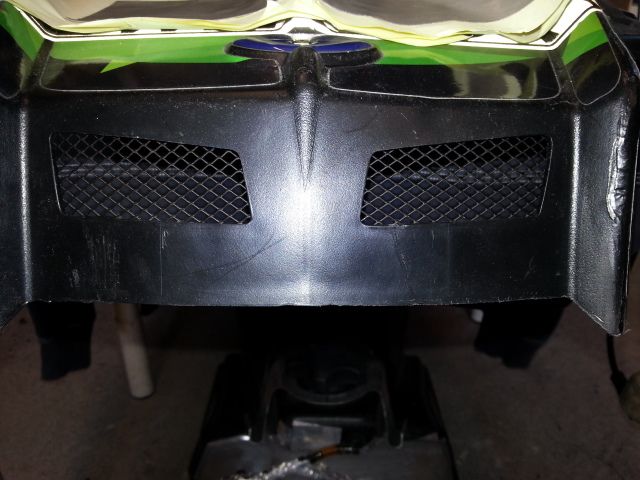
used a soldering iron to attach the mesh,


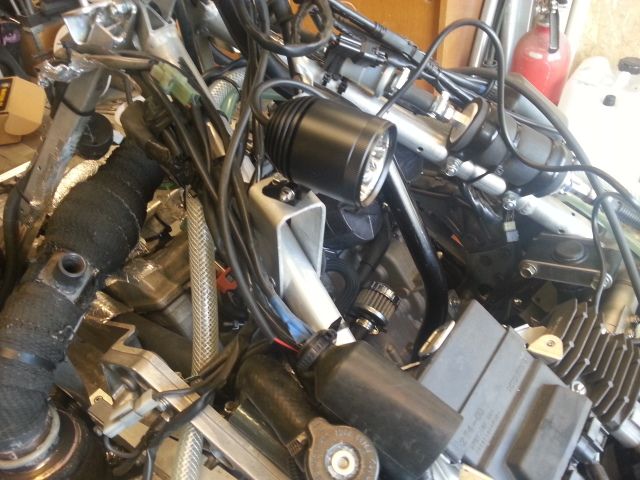
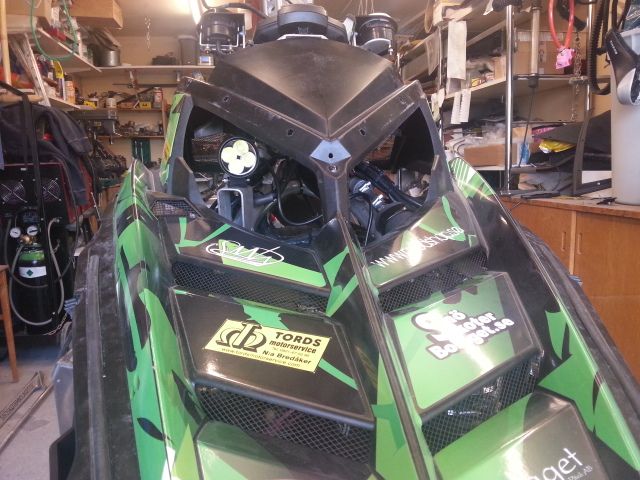
Made a bracket for my LED light and installed it.


Next is to install mesh over the head light openings.
 
Last edited:
Premium Features