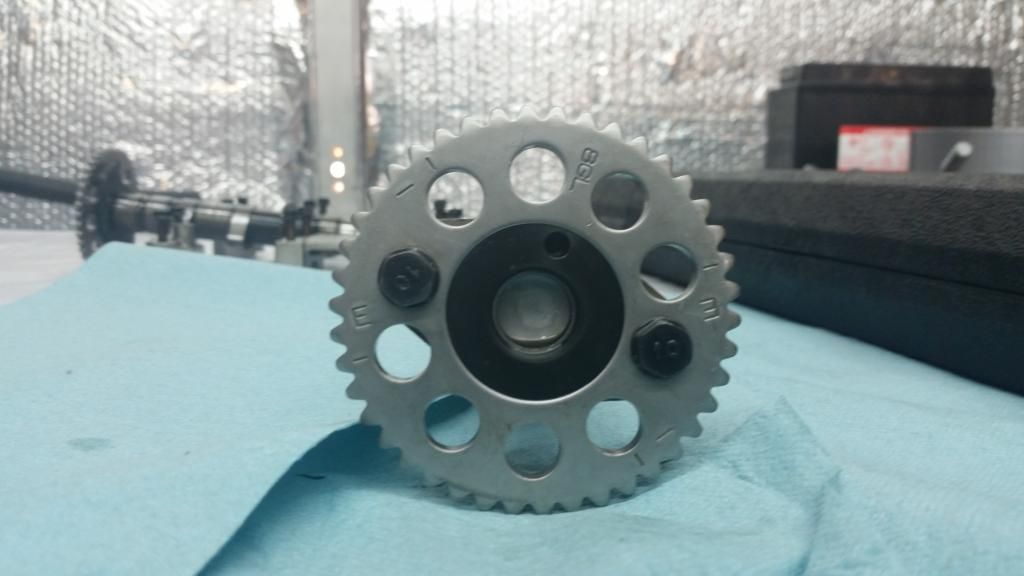
Here we have the pre-ground cam gear installed.
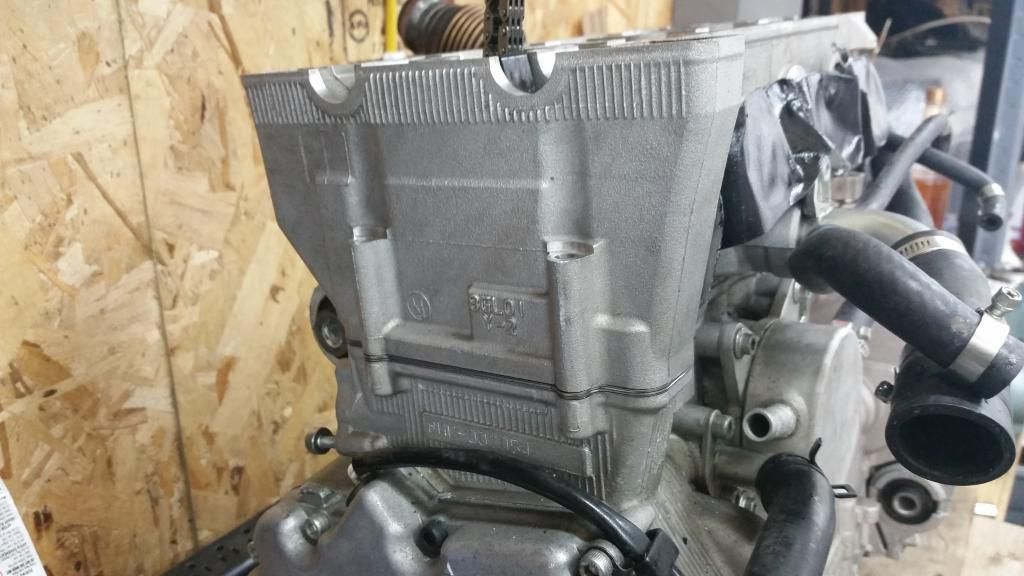
Here you can see the headshim is installed. i also purchased an arp stud kit from Rick. i used torqe instructions from allen ulmer webiste. red loctite studs into block, let sit for 1 day. put engine oil on threads, washers, and nuts then torque to 20ft, 35ft, 50ft; then loosen each 1/2 turn and retorque to 50ft. take note of stud by water pump gear and only put into block so that 3.14 of the stud is out of the block measured with a caliper.
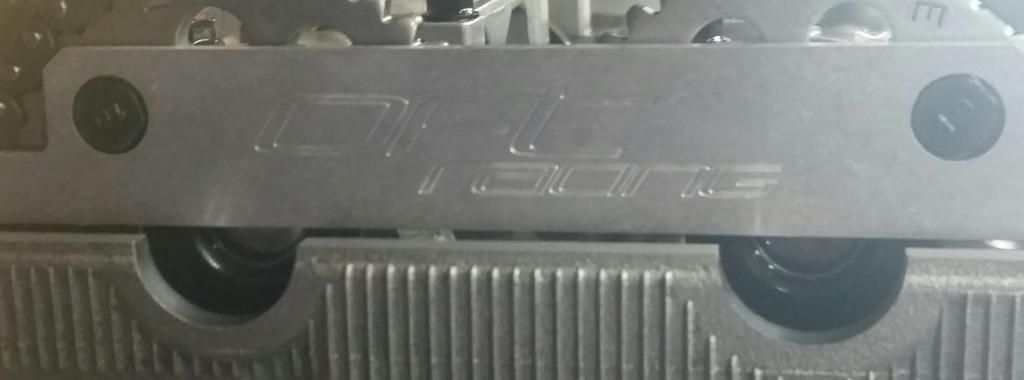
Here is the cam timing tool, put the engine at TDC, put the tool on and have the timing dots line up (they will face inwards slightly) and you are good to go. i rotated the engine multiple times to double check!
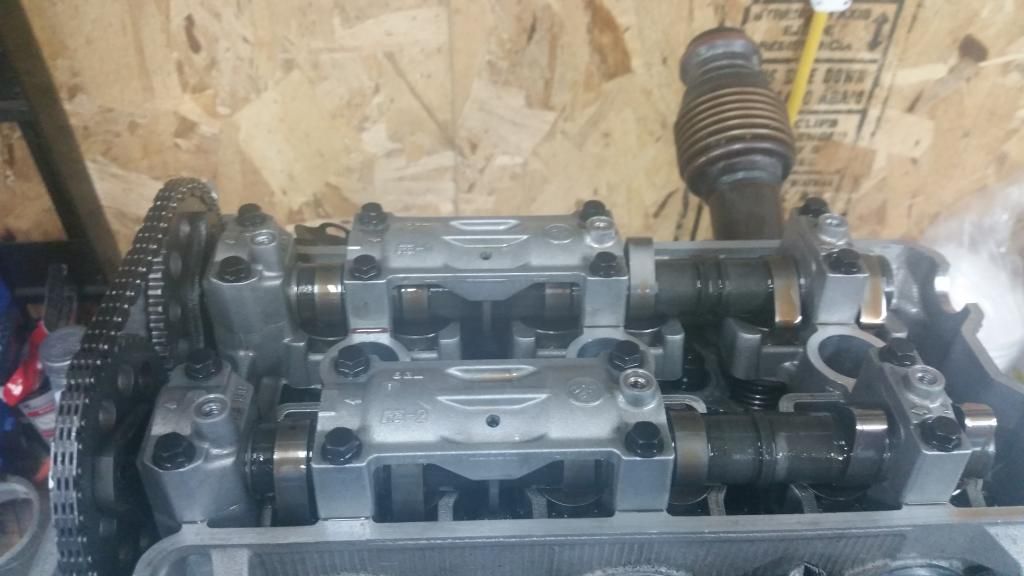
Here i am double checking valve clearances, everything still checks out so nothing moved during install.
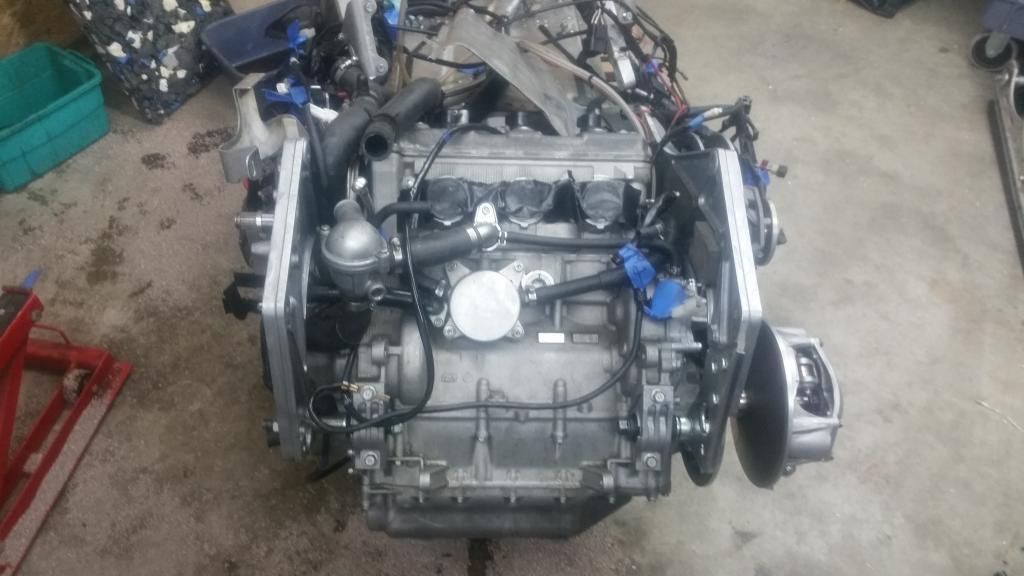
engine is back in. this is the first time i removed the engine, i would recommend having a friend or a hoist, i did it with neither and i had some minor struggles. my issues was i did not loosen the rear alignment nut thing and i couldnt get the rear engine mounts to align.
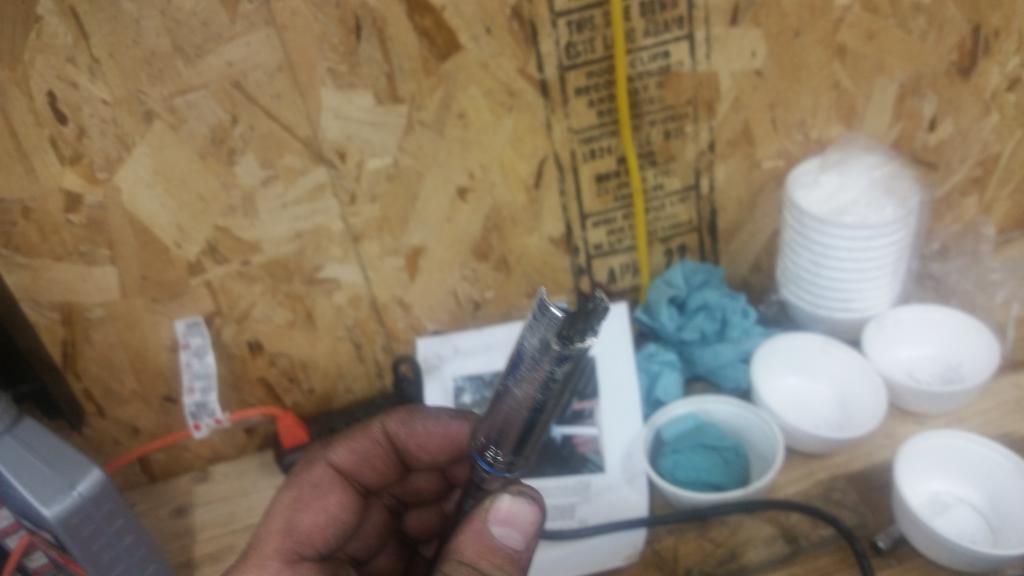
Take a 13mm socket and grind it like this, this will allow you to move the engine alignment nuts
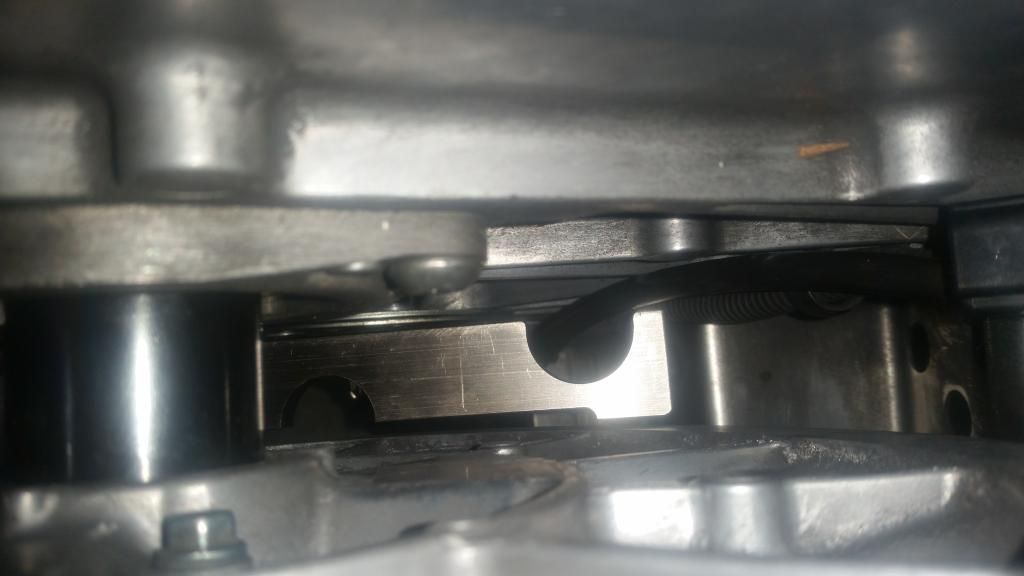
snug up the rear alignment nut and then you have to check your clutch alignment, i used allen ulmers tool. here you can see that i am a little out of alignment. i eye balled it i think it will be sufficient.
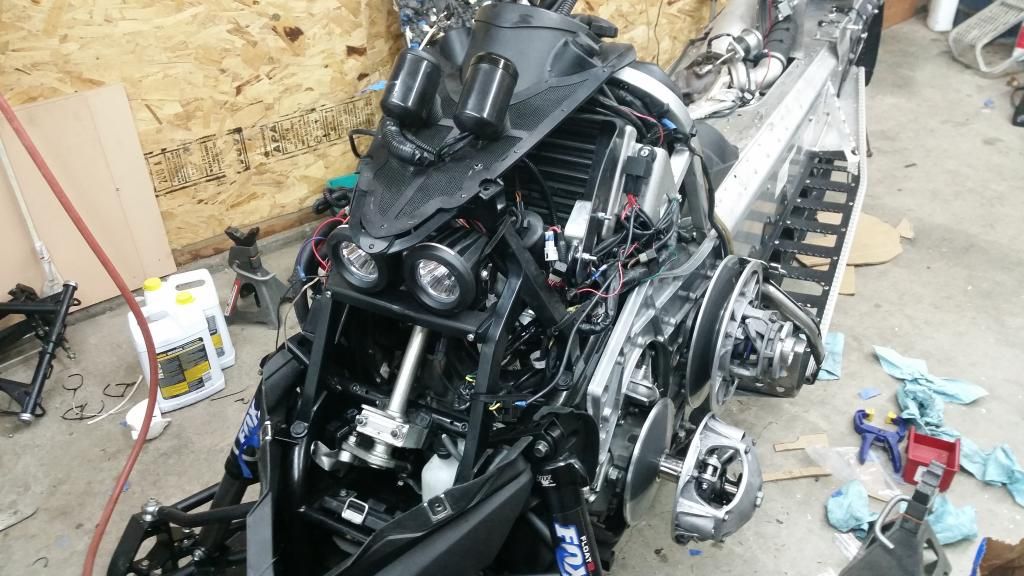
need to install wiring and tidy things up.
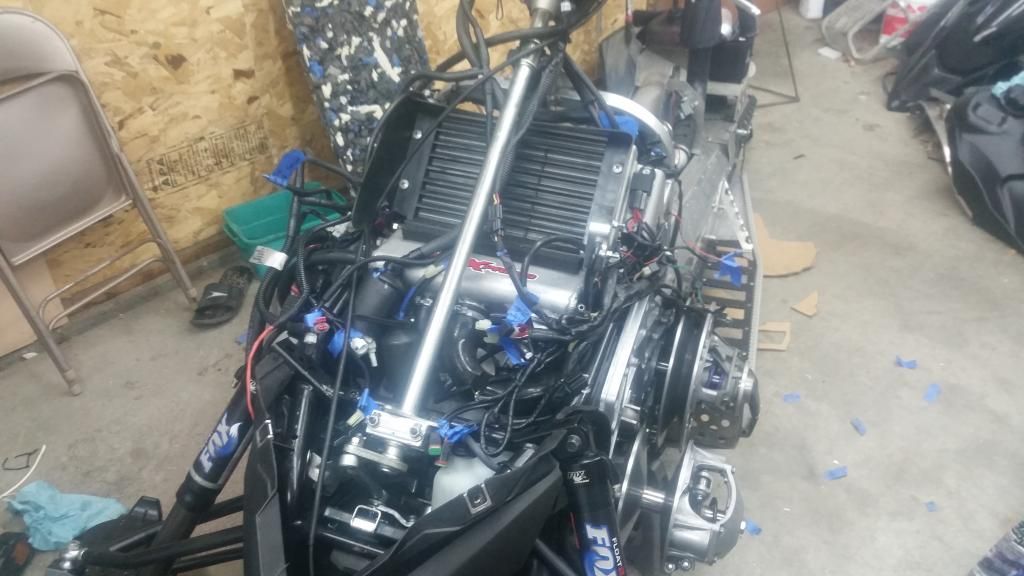
wiring is all together, i am waiting for the clamp in map sensor from Rick at OFT which goes in the charge tube from the PCV before i start her up, hopefully it all still works!
so i still have to install the PCV, but in the clamp in map sensor in the charge tube, and install the manual boost controller.
all in all i think everything went ok, the most important thing is to label all the wiring very well, besides that it isnt too bad.


