
I
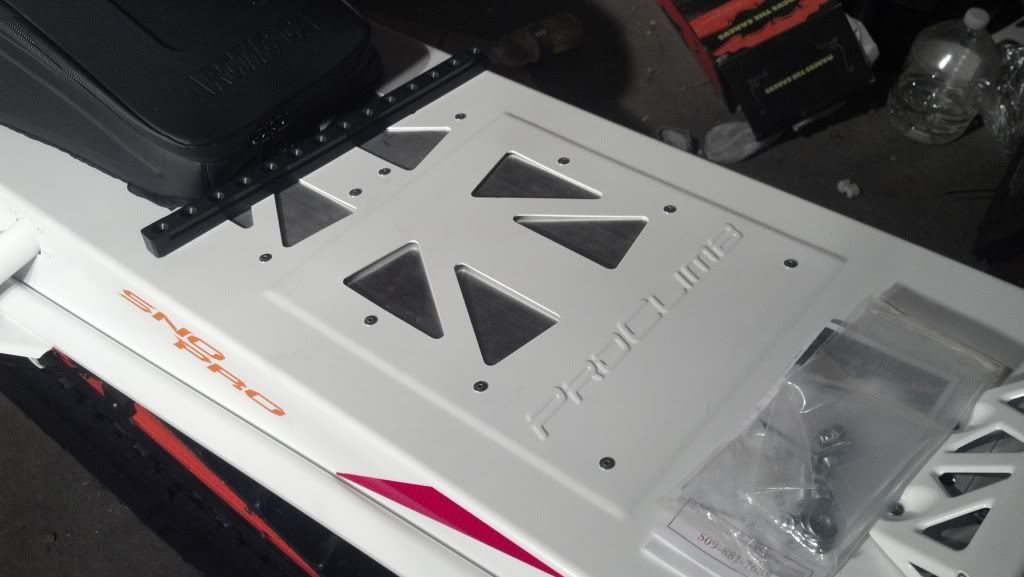
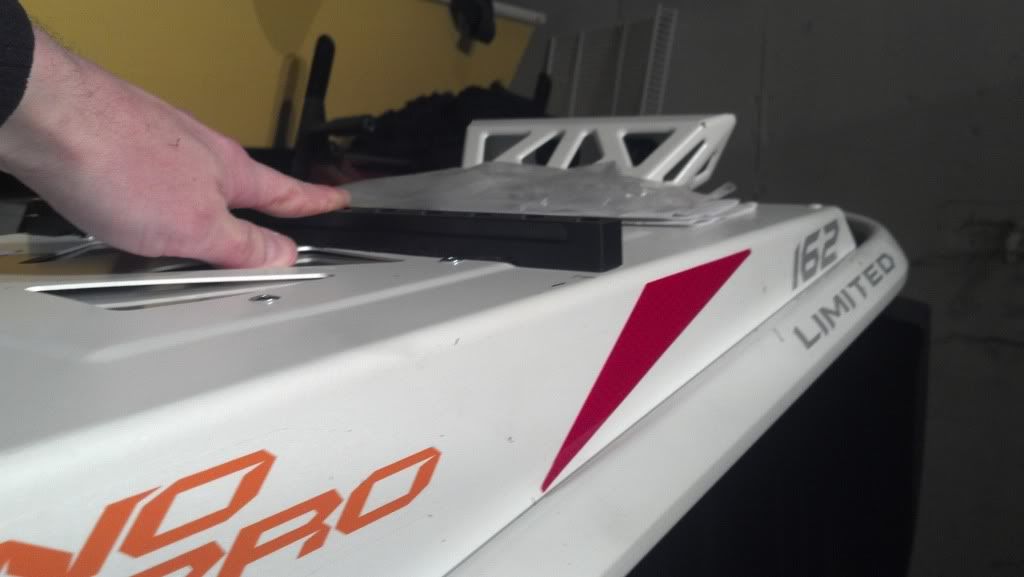
Started mounting my Mountain Addiction gas rack today. Because I have the fancy Arctic Cat tunnel bag that I posted the install for earlier, one of the gas rack rails needs to be mounted over the Heat Exchanger bump. Here's a picture of the Heat Exchanger bump:
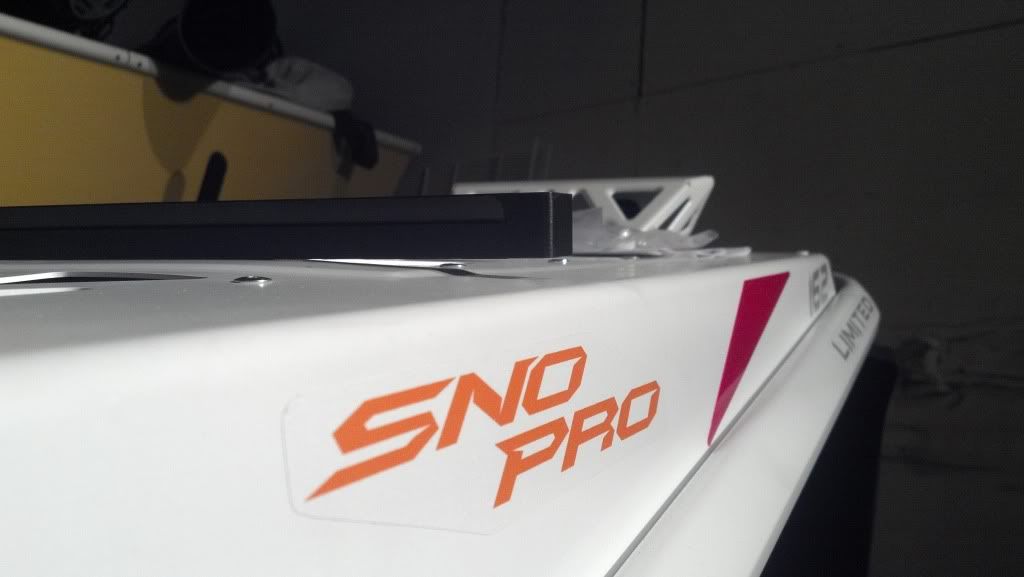
That's all fine and dandy except that the bottom of the gas rack rail is flat. They must have assumed you'd be mounting it directly behind the seat where there would have been enough room for both rails to be on a flat surface. Here's a picture showing how the the gap under the gas rack rail on one side of the Heat Exchanger bump:
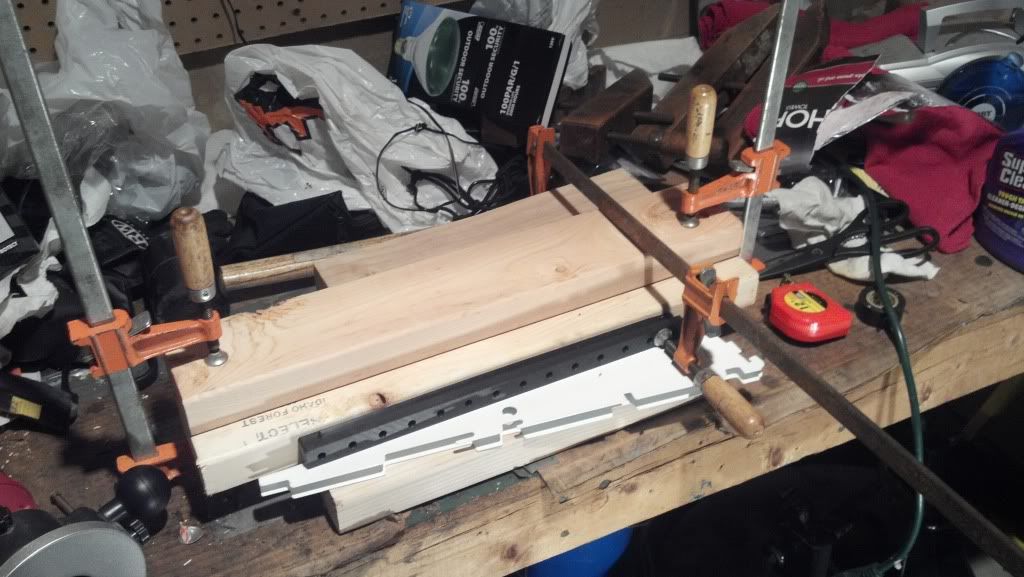
So, I needed to router out the middle section of the gas rack rail so that on the sides of the Heat Exchanger bump the rails would be flat, since that is where the bolts will be going to secure the rail. I started by making a crappy jig. The following is a picture of it: (Note that the bottom peice is a 2X8 that is there just to give clearance to the clamps. The actual jig is just two 2X4s clamped together with an offset. The offset is used to control the depth of the cut.)

Here's a view with the router in place, my router bit is way too short, and the 2X4 is way too tall:
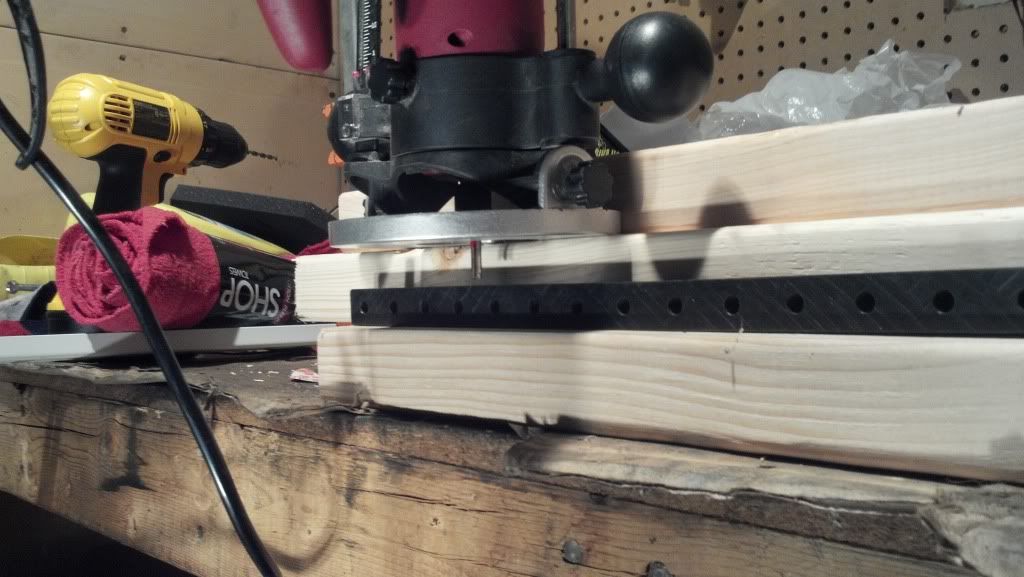
I used a shelving support thing to bring the rail up so that the router bit would go about halfway through the rail:

Before I started routing I added another clamp to hold the rail in place:
When I actually did the routing I found that I needed to hold the un-clamped side of the rail in order to keep the router from grabbing the rail and cutting unevenly. I also found that supporting the router from only one side led to a rougher cut than I had hoped for.
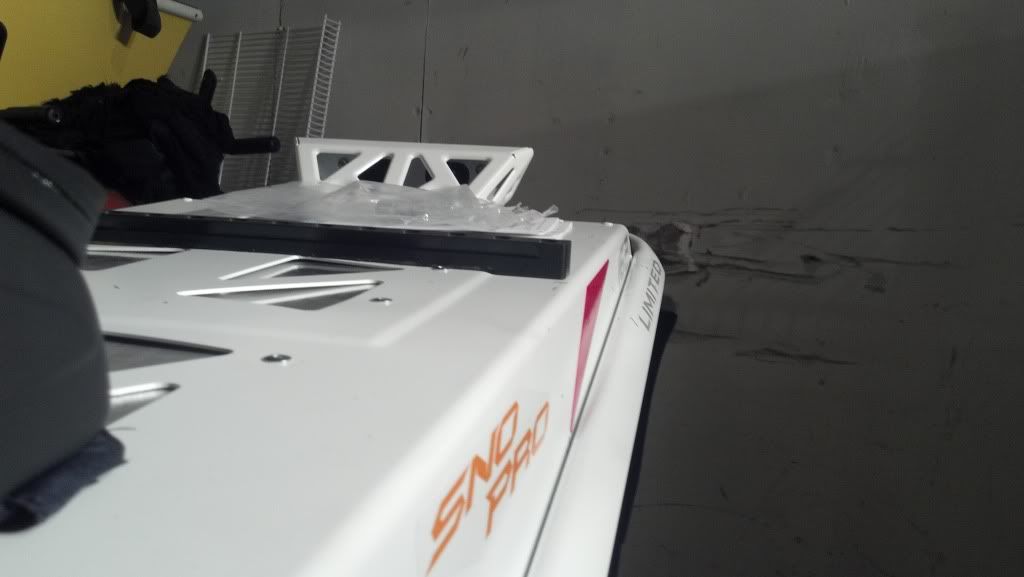
Here's the rail on the back part of the Heat Exchanger bump, where the lower height of the bump allows the gas rack rail to now fit:
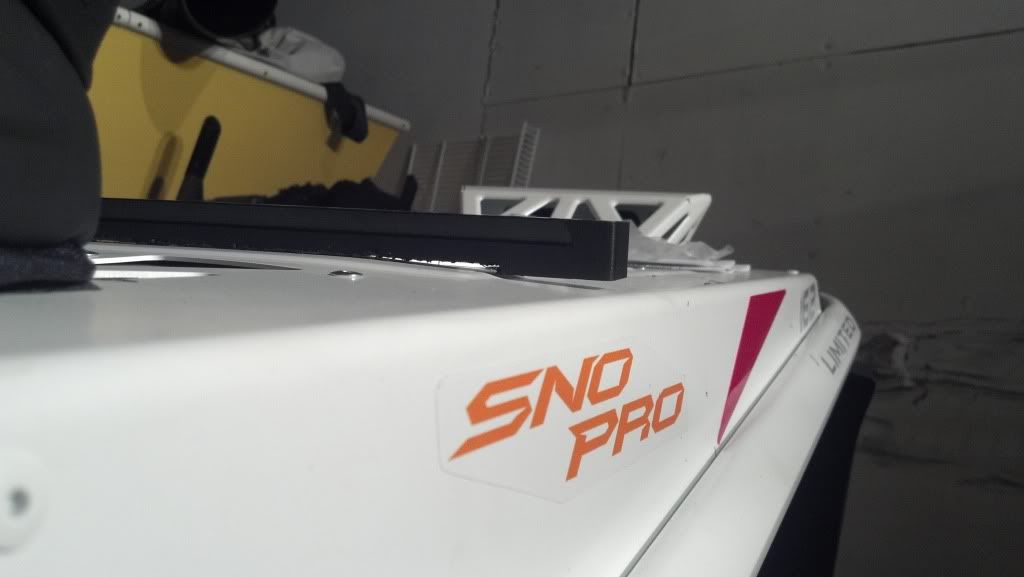
As you can hopefully see in the following couple pictures, closer to the front of the Heat Exchanger bump the tunnel is sort of warped, and the cut I made is not nearly deep enough:
Tomorrow I'm hoping to finish up this project, including the actual mounting of the rails. I'm likely going to be putting a couple 2X4s in front of the jig to support both sides of the router. In addition, I'm also hoping to clamp both sides of the gas rack rail in the jig so that I don't have to have my fingers to close to the business end of the router. I'm also probably only going to make the center of the gas rack rail have a deeper cut, since near the sides of the Heat Exchanger bump the cut is the right depth.
That's all fine and dandy except that the bottom of the gas rack rail is flat. They must have assumed you'd be mounting it directly behind the seat where there would have been enough room for both rails to be on a flat surface. Here's a picture showing how the the gap under the gas rack rail on one side of the Heat Exchanger bump:
So, I needed to router out the middle section of the gas rack rail so that on the sides of the Heat Exchanger bump the rails would be flat, since that is where the bolts will be going to secure the rail. I started by making a crappy jig. The following is a picture of it: (Note that the bottom peice is a 2X8 that is there just to give clearance to the clamps. The actual jig is just two 2X4s clamped together with an offset. The offset is used to control the depth of the cut.)
Here's a view with the router in place, my router bit is way too short, and the 2X4 is way too tall:
I used a shelving support thing to bring the rail up so that the router bit would go about halfway through the rail:
Before I started routing I added another clamp to hold the rail in place:
When I actually did the routing I found that I needed to hold the un-clamped side of the rail in order to keep the router from grabbing the rail and cutting unevenly. I also found that supporting the router from only one side led to a rougher cut than I had hoped for.
Here's the rail on the back part of the Heat Exchanger bump, where the lower height of the bump allows the gas rack rail to now fit:
As you can hopefully see in the following couple pictures, closer to the front of the Heat Exchanger bump the tunnel is sort of warped, and the cut I made is not nearly deep enough:
Tomorrow I'm hoping to finish up this project, including the actual mounting of the rails. I'm likely going to be putting a couple 2X4s in front of the jig to support both sides of the router. In addition, I'm also hoping to clamp both sides of the gas rack rail in the jig so that I don't have to have my fingers to close to the business end of the router. I'm also probably only going to make the center of the gas rack rail have a deeper cut, since near the sides of the Heat Exchanger bump the cut is the right depth.
Last edited: