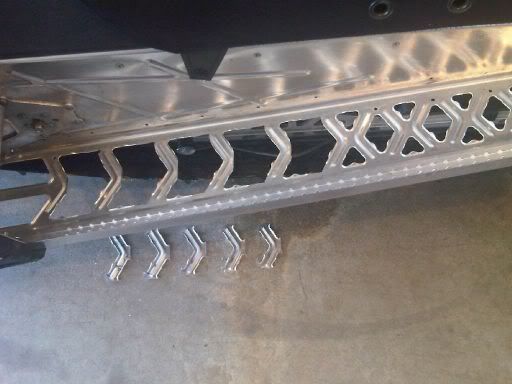
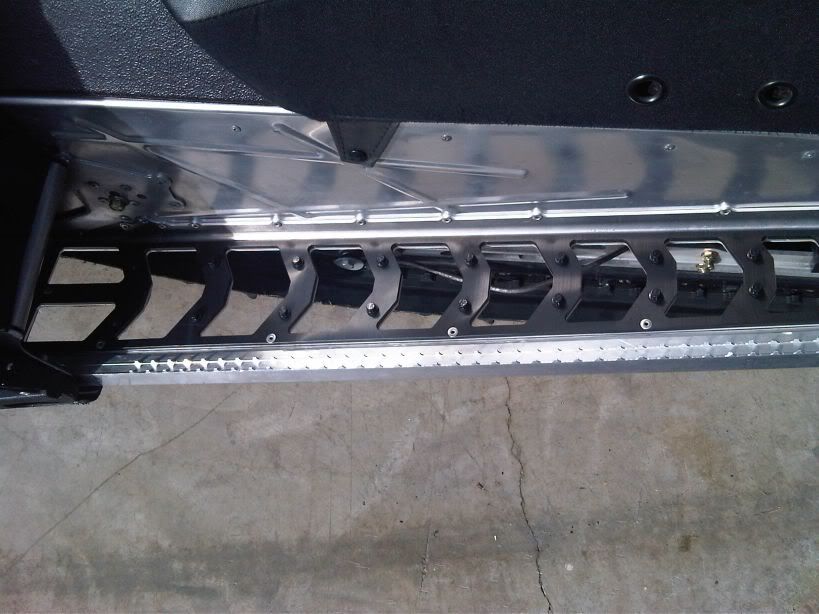
I think what most guys are referring to on install is the fact that these boards incorporate and replace the stock tunnel brace on the inside corner and have to sit down completely flush on the running board to get it to line up correctly. They are much stronger this way structurally. You basically drill the rivet heads off the stock tunnel brace in the corner and remove it, cut a "V" shape out of each chevron and then grind down the stock foot traction lips around each opening to allow the new board to sit down nice and flush. If you have a 4" grinder, you just get after it and it only takes about 3-4 minutes per side. When you lay the new boards in there, if the rivet holes on the side of the tunnel do not line up you know you need to grind them down more. When all the rivet holes line up, you are good to go. It is a good idea to have a good rivet gun because they use stainless steel rivets in the hardware so they never loosen up over time like steel rivets will. In the photo below, you see what you have to cut out. The pieces laying on the floor are actually flipped around wrong, but you get the idea. Really not much cutting, just some grinding to get those traction lips down flush. The traction bolts included actually go through all the little metal strips left there in the picture to lock it all together even better. I used a little $15 sheet metal saw from Harbor Freight to make the cuts.