• Don't miss out on all the fun! Register on our forums to post and have added features! Membership levels include a FREE membership tier.

2008 Ski-Doo build

Visi

Well-known member
Lifetime Membership
Nov 26, 2007
885
192
43
36
Paradise, CA
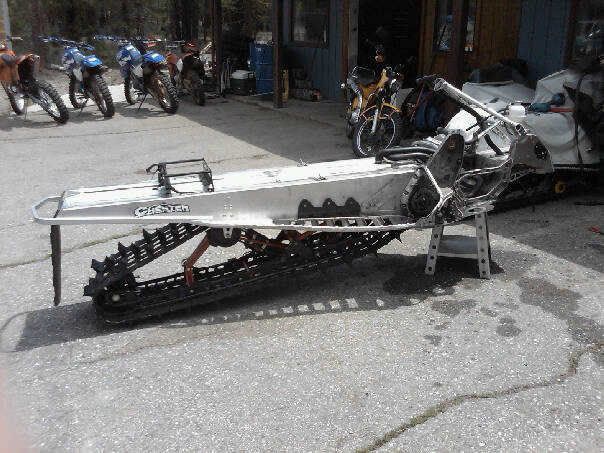
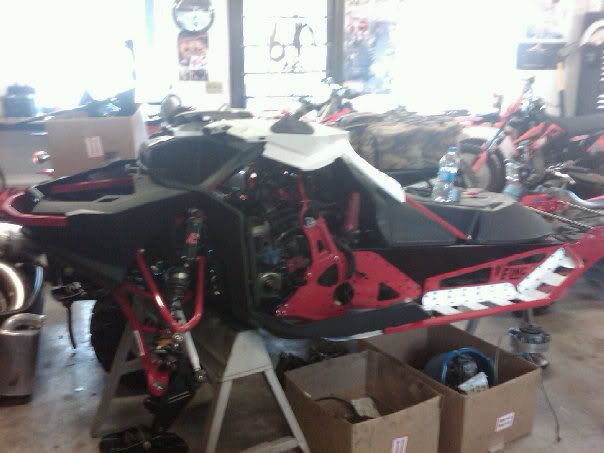
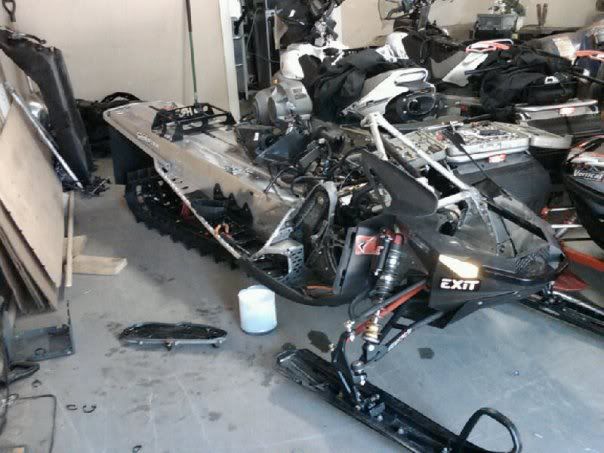
I started posting about this on Westcoastsledders.com about a month ago and have been working on my sled most of the summer. Had a wreck at the end of the year last year. I decided to re-build it rather than getting a new sled. My goal on this sled was to make it stronger than stock and run better than stock but stay reliable.

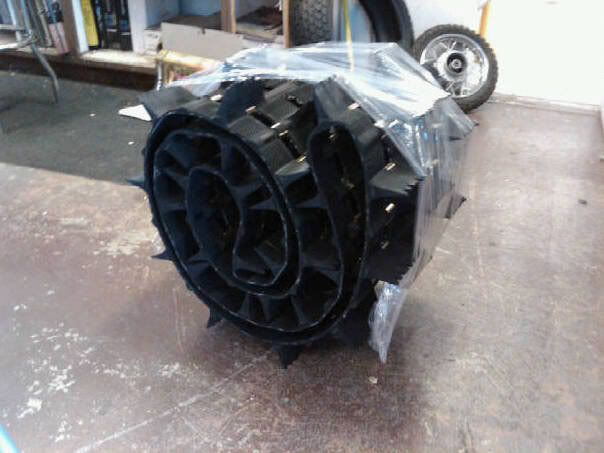
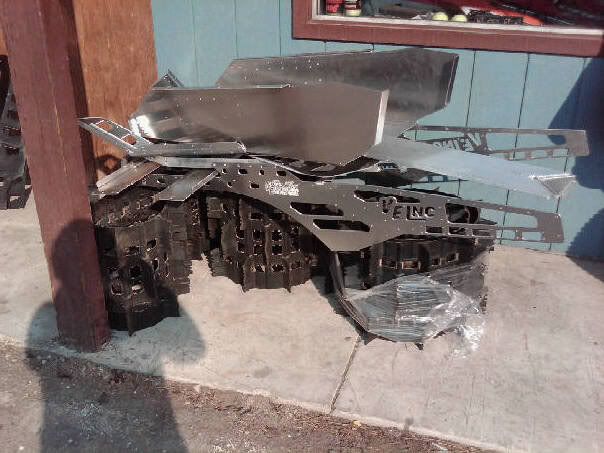
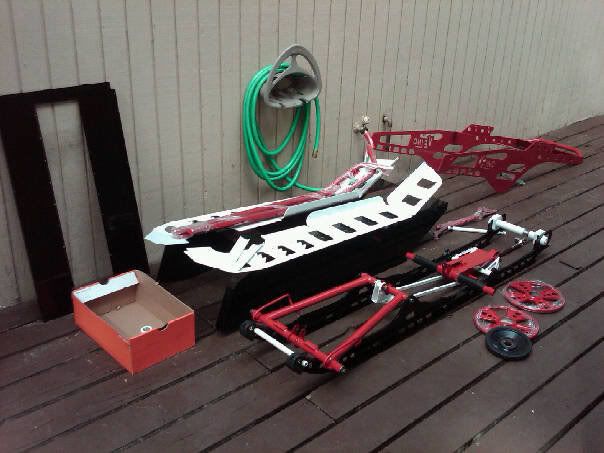
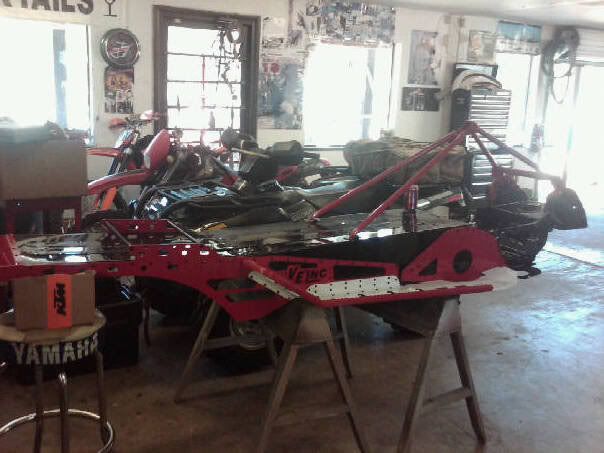
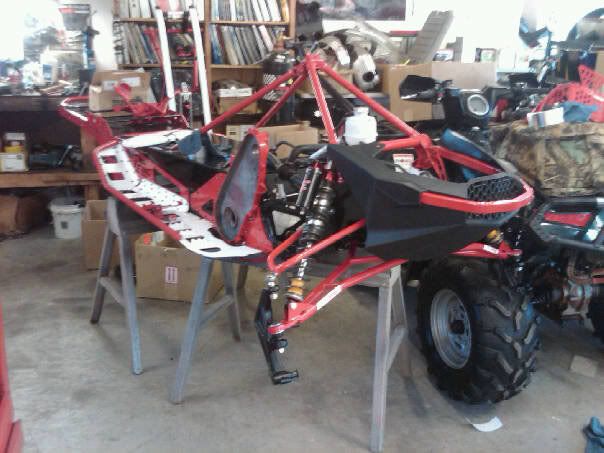
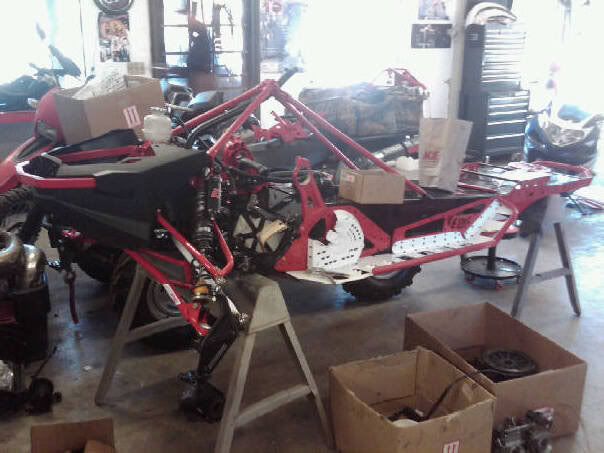
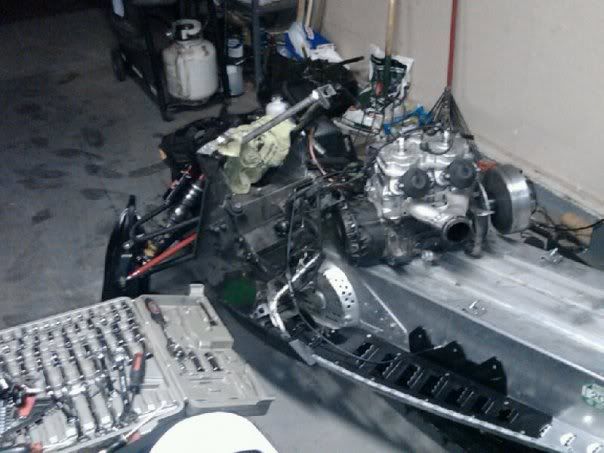
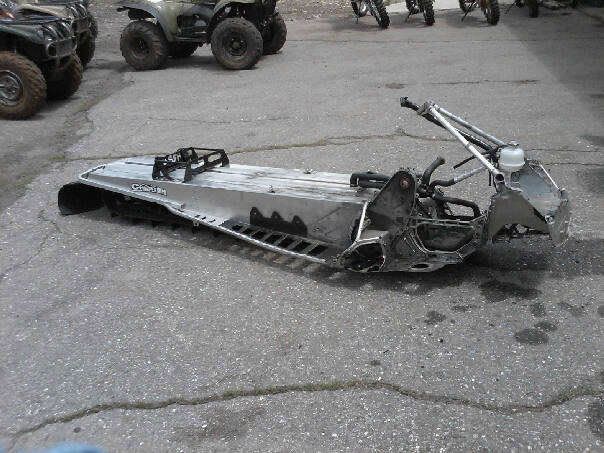
Beginning the tear down.

4617_87214311495_513831495_2251960_.jpg


4617_88398756495_513831495_2270240_.jpg


4617_88398871495_513831495_2270242_.jpg
 
Last edited:

Visi

Well-known member
Lifetime Membership
Nov 26, 2007
885
192
43
36
Paradise, CA
Just took the Front Suspension off and plastics off at Chester Mountain Sports

5123_97709421495_513831495_2418214_.jpg


Took out the Rear Suspension

5123_97709041495_513831495_2418212_.jpg


Both Front and Rear Suspensions in the truck (ARS-FX A-arms and Exit X1 Fronts W/ Exit's in the Rear too)

5123_97708276495_513831495_2418211_.jpg
 
Last edited:

Visi

Well-known member
Lifetime Membership
Nov 26, 2007
885
192
43
36
Paradise, CA
Took the Track and recalled Driveshaft out

5528_109687546495_513831495_2626225.jpg


New Track (Challenger Extreme 155 x 15 x 2.5" Lug)

5528_109687411495_513831495_2626224.jpg


New Van Amburg 2010 Boondock Tunnel Disassembled

6768_121230951495_513831495_2800887.jpg
 

Visi

Well-known member
Lifetime Membership
Nov 26, 2007
885
192
43
36
Paradise, CA
Got a bunch of stuff back from Platinum Powder Coating in Chico, CA.

6768_124234486495_513831495_2845180.jpg


Tunnel and Rear Suspension up close.

powdercoating.jpg


Here is the tunnel assembled.

10725_145449226495_513831495_310149.jpg


Thanks for the stand and rivet gun Shane. Thanks for the help from Chester Mountain Sports.
 

Visi

Well-known member
Lifetime Membership
Nov 26, 2007
885
192
43
36
Paradise, CA
Tunnel assembled to the bulkhead assembly.

10725_146223421495_513831495_310765.jpg


Getting the chaincase to line up was a royal BITA! Nose cone and front suspension mounted again.

nn.jpg


10725_152313331495_513831495_314655.jpg
 
Last edited:

Visi

Well-known member
Lifetime Membership
Nov 26, 2007
885
192
43
36
Paradise, CA
Best fit felt like the bulkhead needed a little modification, stock bulkhead and tunnel are molded for the heat exchanger to fit above the tunnel.
 
Last edited:

Visi

Well-known member
Lifetime Membership
Nov 26, 2007
885
192
43
36
Paradise, CA
Last year I cracked my airbox. Chadd at Chester Mountain Sports said to take a look at the airbox to see if there would be anything to do to make more airflow. I split the airbox by drilling out the tabs. In the airbox it was easy to take out the baffles and and cut the plastic out. Reinstalled with silicone and pop rivets.

Stock airbox with baffles
9135_160833951495_513831495_3217691.jpg


Airbox in half and stripped of baffle and plastic
IMG00063-20091020-1430.jpg


Airbox back together without the baffles and plastic
10635_160835086495_513831495_321769.jpg
 
Last edited:
Premium Features